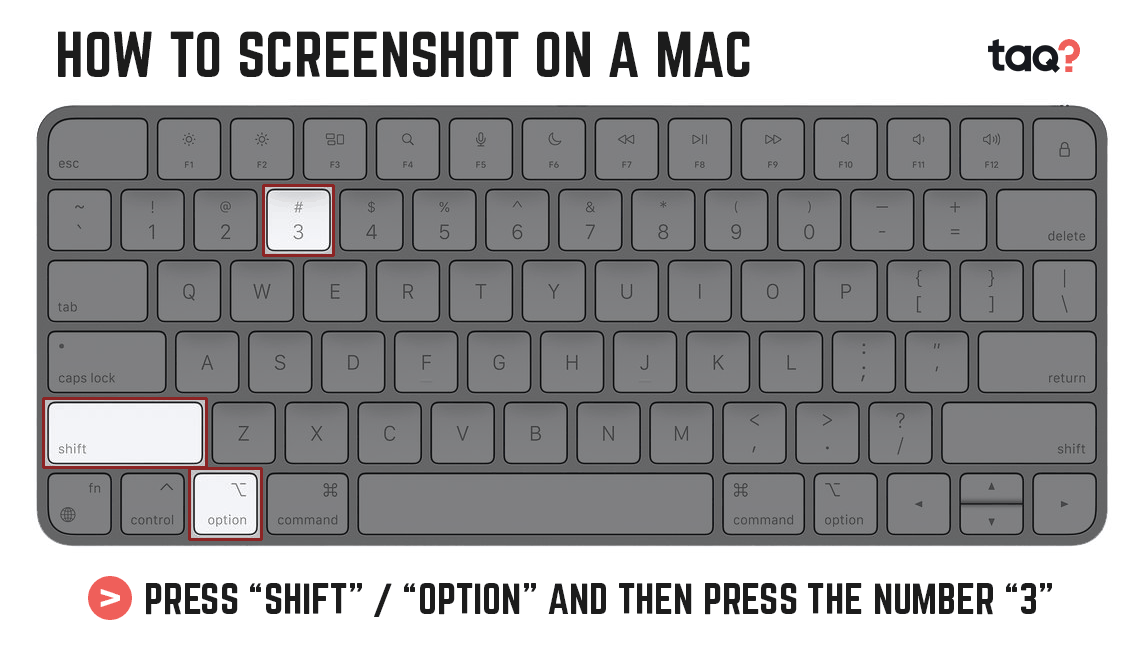
If you’re a new Mac user, or if you’ve had a Mac for a long but never learned how to capture a screenshot, it’s worth taking a few minutes to learn this skill. It’s well worth jumping on the screenshot platform, primarily because it’s an excellent method to keep track of things. Taking a screenshot on a Mac is also a handy way to store photographs if you don’t want to wait for them to download.
You can use it to capture a selected piece of your screenshot, a specific window, or your entire screen in a screenshot image, whether you’re an experienced Mac user or a Mac newbie. Follow the steps below to take a screenshot on your Mac.
- On your keyboard hit Command-Shift and then the number 4.
- Press the space bar when the target icon appears to turn it into a camera icon.
- To capture a screenshot of any open window, menu, bar, or desktop, simply drag the camera icon over it. When you drag the icon over a window, it will turn blue.
- Cheers, your screenshot has been saved as a .png file and will appear on your desktop. The words “ScreenShot” will be written on it, followed by the date and time of your screenshot – down to the second. Apple doesn’t seem to lose a beat.
You can be also interested How to Write a Check
Source: Apple Support


